Over at the iClarified, a really interesting and highly beneficial post has been put that provides the readers with a detailed walkthrough on how to Unlock/Jailbreak Your 2.0 2G iPhone. This procedure has been detailed for both Mac and Windows platforms. Now, that we are talking about Apple iphone, then, we’ll prefer to start with the instructions for Mac users.
Note: These instructions are especially for those iPhones that are being Jailbroken for the first time.
Before we begin, here are some important that you need to acquire before you proceed with the unlock procedure.
- iTunes 7.7
- Create a new folder on your desktop, with the following items. Two bootloader files and Pwnage 2.0.1.
- Apple iPhone firmware (2G iPhone 2.0 5A347)
You can find the bootloader files here.
Now let us begin the Unlocking or Jailbreaking of your Apple iPhone 2.0 2G:
Step 1:
Create a folder on your desktop with two bootloader files and Pwnage 2.0.1 in the folder.

Step 2:
Launch the Pwnage 2.0.1 (PwnageTool 2)
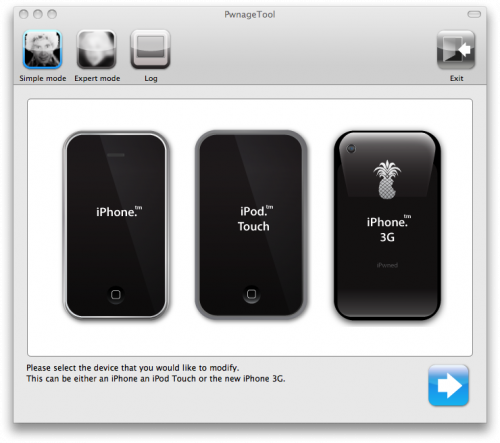
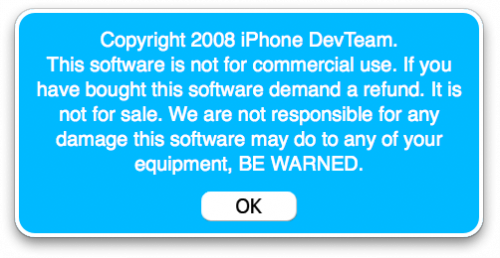
If and when prompted by a warning message, click ‘OK’ and proceed.
Step 3:
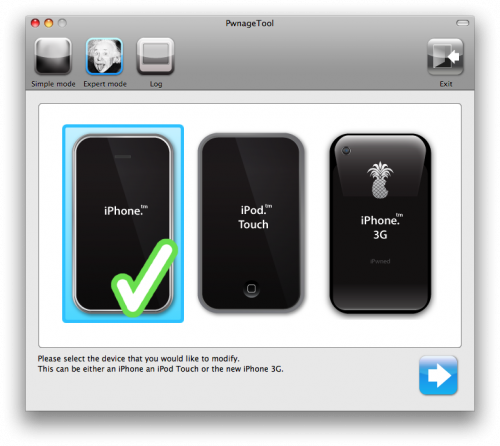
To begin the process, you have to click on the ‘Expert’ mode.

Step 4:
A prompt will appear with three Apple devices, from which you’ve to select the Apple iPhone. Click the blue arrow at the bottom right to proceed.
Step 5:
Once at the “Browse for IPSW” page, the PwnageTool would automatically find the IPSW. In case, it doesn’t , then you need to locate the IPSW file manually, by clicking on the Browse for IPSW icon .
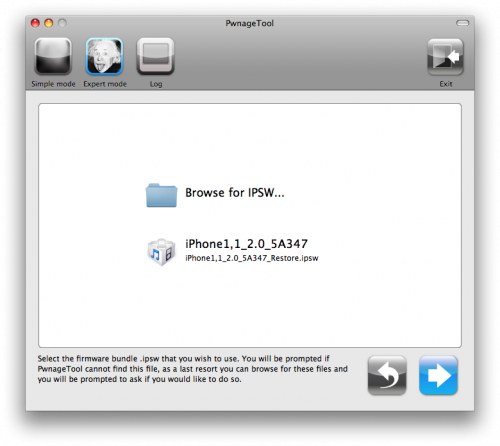
Locate the IPSW file and select it, in which case a green checkmark would appear next to it. Click the blue colored arrow in the PwnageTool to proceed.

Step 6:
Once at the menu, select ‘General’ and proceed. The General settings allows you to choose partition size that suits best to your needs.
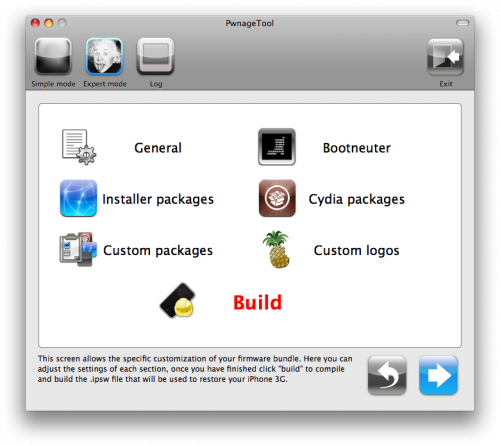
At the ‘General Settings’ console, you need to Click on ‘Activate the Phone’ and then on ‘Disable Partition wipe-out’. Then proceed to the next step.

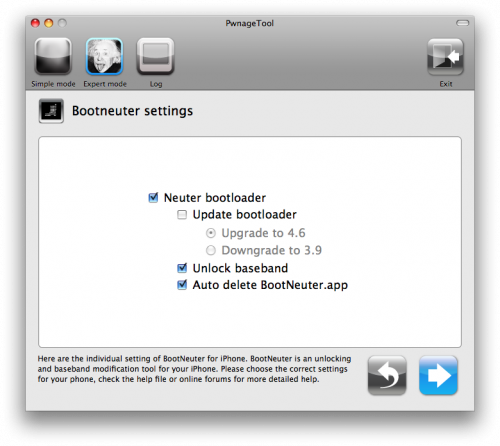
Next at the ‘Bootneuter Settings’, you need to click the following options. First, ‘Neuter bootloader’ , then ‘Unlock baseband’ and then ‘Auto-Delete BootNeuter.app’. Proceed to the next stage.
Now you are on the Cydia Settings, that are designed to help you in creating custom packages, that would be automatically installed.
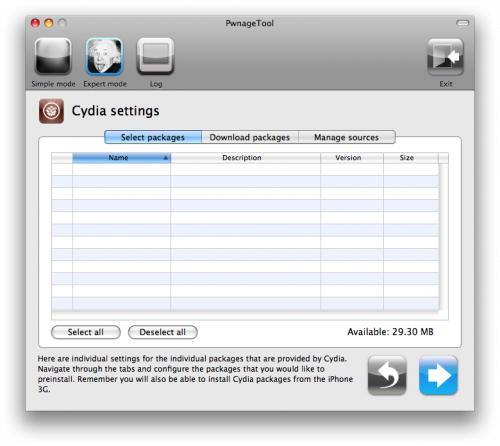
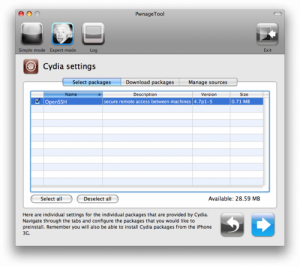
At the Cydia Settings, you need to click on the ‘Download Packages’ tab. If you find any useful package, you download it by double clicking on it. It will then be stored in the ‘Select packages tab’.
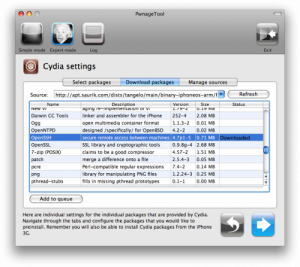
Mark the packages you require and then click on the blue arrow to proceed.
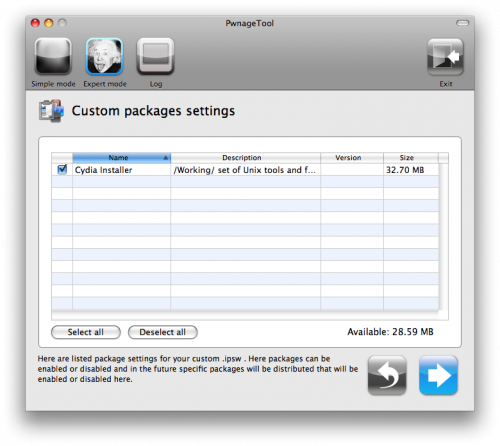
Do not fiddle with the Custom Packages Settings at the Custom Package Settings menu. This page displays the settings of the packages that you have selected for your custom IPSW.
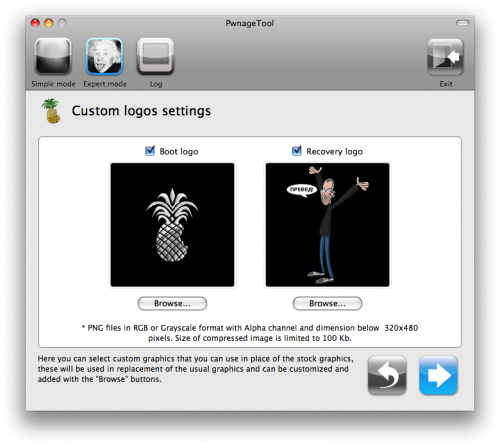
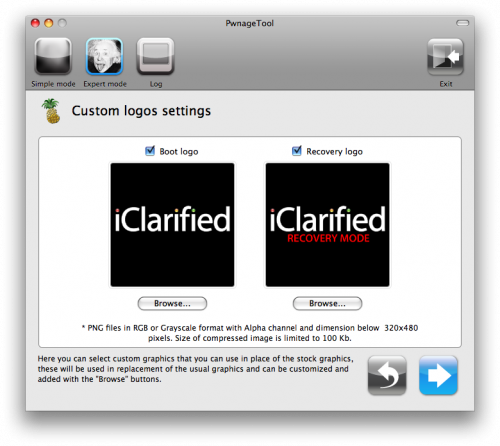
Now you’ll be given an option to choose the Boot logo and Recovery logo for you iPhone. At the Custom Logos Settings menu, you can use the pre-defined logos, or add your images as logos. The logos have to be RGB or Grayscale format with Alpha channel and with dimensions less than 320×480 pixels. Click the blue arrow to proceed.
Step 7:
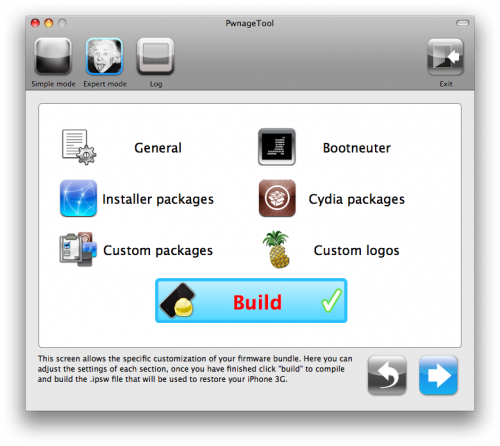
Click the ‘Build’ button to create your new custom firmware and then click on the blue arrow to proceed.
Step 8:
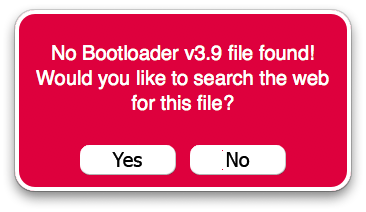
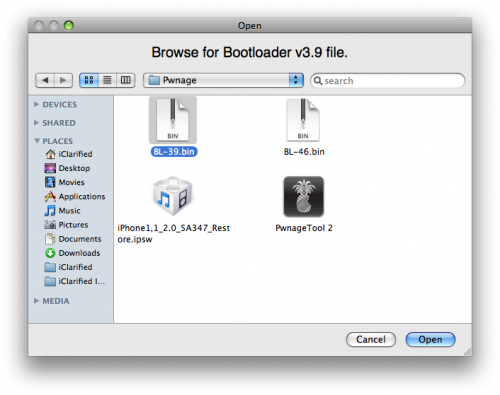
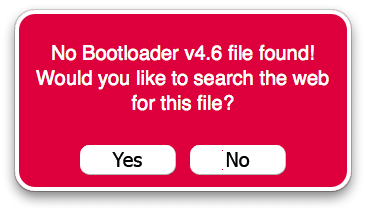
At the start of the build-up process, you will be prompted to upload the 3.9 and 4.6 BL files. When the prompt asks to search the web for the file, click ‘No’.
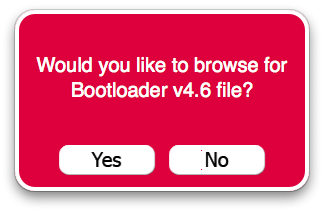
You browse for the 3.9BL file by clicking ‘Yes’ on the browse for file prompt.
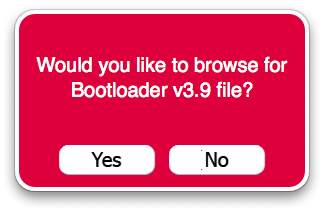
Remember the folder you created on the desktop, select the 3.9BL file from there and then ‘Open’.
Repeat the exact for the 4.6 BL file.

Step 9:
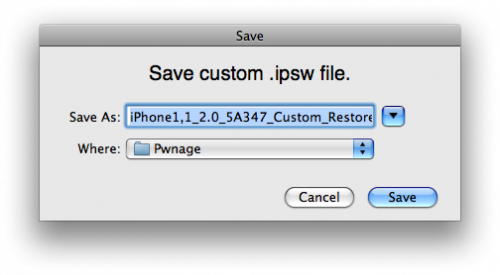
After locating the 3.9 and 4.6 BL files, you need to save the custom ipsw file in your Pwnage folder on the desktop.
Step 10:
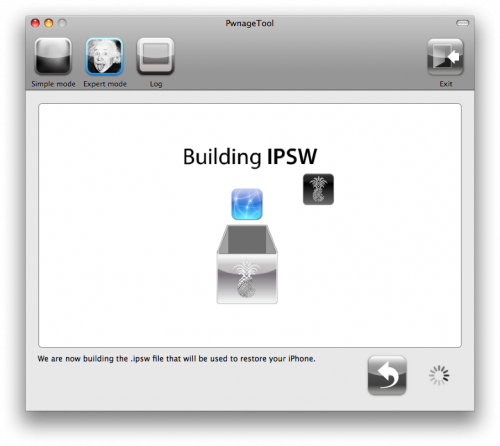
Now all have to do is to wait for the creation of your custom IPSW. The procedure is a bit time consuming, so it might take as long as 10 minutes.
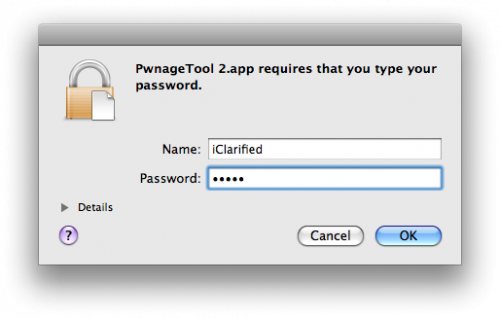
If and when prompted for a password, key in your Administrator password and proceed.
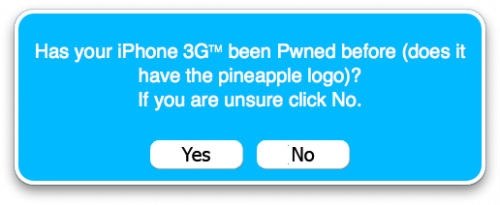
A prompt will ask you, whether your iPhone has been Pwned before. Click ‘No’ and proceed. Clicking ‘No’ also allows for a more thorough restoration of the device.
At the point, when you are asked to switch off the device, make sure it is connected to the USB port.
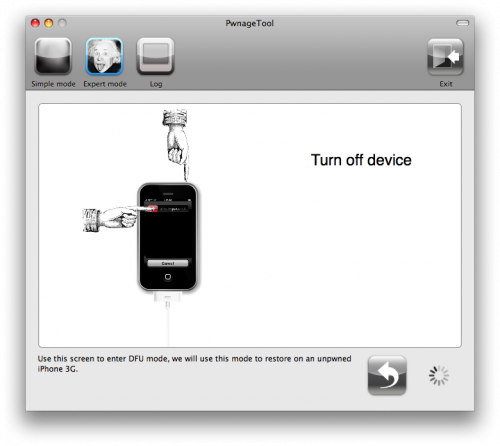
Step 11:
Now, at the prompt, you need to hold the home button and the power button for 10 seconds. After that, you need to to release the power button and hold the home button for 10 seconds to enter DFU.
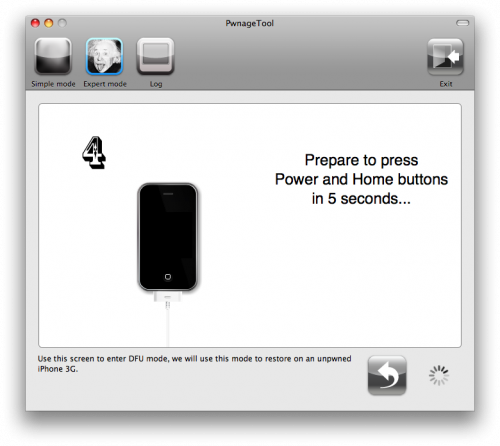
The above step is a little tricky one. Hence, if you find a failure prompt, click on ‘Yes’ and Unplug the iPhone from the USB. Then turn off the phone and then switch it on again. Plug it into the USB port and then switch it off when prompted.

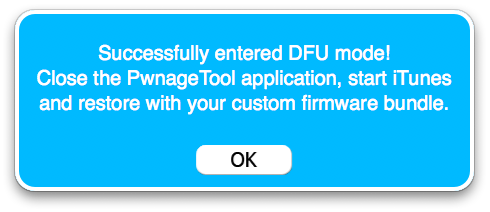
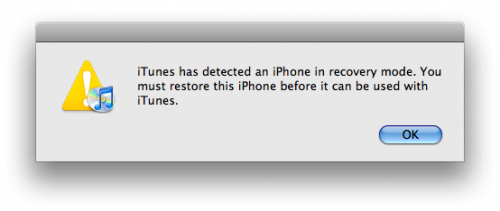
After successfully entering the DFU, you will receive a confirmation message along with a iTunes pop-up.
Step 12:
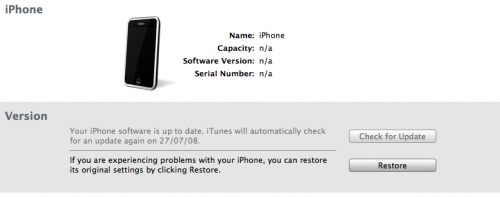
At the iTunes interface. All you have to do is to hold the Alt/Option button on your Mac and click Restore.
Step 13:
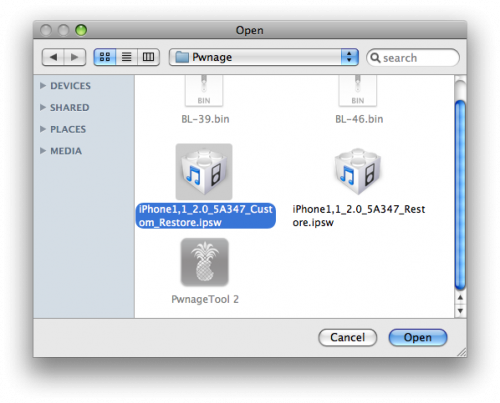
Now, select the custom IPSW that you created. It would named something like iPhone1,1_2.0_5A347_Custom_Restore.ipsw. Now click on the ‘Open’ button in the pop-up.
Step 14:
After the restoration, the phone will automatically restart and launch the BootNeuter.app, that will unlock your phone. This process will take about 5 minutes, after which your phone will reboot and will be ready for use.